> ## Documentation Index
> Fetch the complete documentation index at: https://adapt.com/docs/llms.txt
> Use this file to discover all available pages before exploring further.
# Shopify
> Connect your Shopify store to Adapt to analyze orders, products, customers, inventory, and revenue
Adapt can connect to Shopify two ways. Pick whichever fits your store:
* **[Custom OAuth app](#connect-with-a-custom-oauth-app) (recommended)** — you create a Shopify app, save its Client
ID and Client Secret in Adapt, and authorize over OAuth. Adapt receives a
long-lived offline token, so there is nothing to rotate day to day. This is the
best option for stores set up in the Shopify Dev Dashboard.
* **[API key](#connect-with-an-api-key)** — you paste an Admin API access token (`shpat_`) from a custom app.
Simplest if your store already has an admin-created custom app with a token.
Both are read-only and use the same Shopify scopes. Choose the matching **Shopify**
tile in Adapt's integration catalog for the method you use.
## Connect with a custom OAuth app
### Create a Shopify OAuth app
Create the app in the [Shopify Dev Dashboard](https://shopify.dev/docs/apps/build/dev-dashboard/create-apps-using-dev-dashboard).
Adapt uses the standard [authorization code grant](https://shopify.dev/docs/apps/build/authentication-authorization/access-tokens/authorization-code-grant).
Go to [dev.shopify.com/dashboard](https://dev.shopify.com/dashboard) and
sign in, or create an account if you do not have one.
Click **Create app**, then in the **Start from Dev Dashboard** card set an
**App name** (for example, "Adapt") and create the app.
Open the app's **Access** section and set the **Scopes** field to the read
scopes Adapt uses:
```
read_orders, read_products, read_customers, read_inventory, read_locations, read_analytics
```
These cover Adapt's Shopify use cases — revenue and ROAS reporting, customer
retention, and inventory management. These configured scopes are exactly what
the store grants when the app is installed, so set everything you need here
before installing. Request only what your use case needs.
Still in the **Access** section, add this exact value under **Redirect URLs**:
```
https://app.adapt.com/integrations/shopify/callback
```
Shopify only redirects back to URLs registered here, so it must match
exactly.
On the app's **Overview** page, in the **Distribution** panel, click **Select
distribution method**. Choose **Custom distribution**, click **Select**, then
confirm **Select custom distribution** in the dialog (this can't be undone).
Enter your **Store domain** (for example `my-store.myshopify.com`), leave
**Allow multi-store install for one Plus organization** as needed, and click
**Generate link**. Choosing custom distribution automatically grants the app
access to protected customer data (required for `read_orders` and
`read_customers`), so there is no separate approval to request.
Release a new version of the app so the scopes and distribution settings
become active.
Copy the generated **Install link** and open it to install the app on your
store. You can return to it anytime from the **Distribution** panel, which now
shows **Manage custom install link** (or use **Install app** in the
**Installs** panel). Installing is what grants the app the scopes and
protected customer data you configured. If you change scopes later, release a
new version and reinstall, then reconnect in Adapt.
Open the app's **Settings** and copy the **Client ID** and **Client
secret**. See Shopify's [About client credentials](https://shopify.dev/docs/apps/build/authentication-authorization/client-secrets).
Store the secret securely — you will paste it into Adapt next.
`read_orders` and `read_customers` return customer PII (protected customer
data); custom distribution grants this automatically. Accessing PII also
requires your store to be on a paid Shopify plan. Adapt calls the GraphQL Admin
API (Shopify is phasing out REST access to protected data).
### Save your app credentials in Adapt
You do this once per organization. Any org member can save or rotate these shared
credentials, and every member can then connect their store using them.
In Adapt, go to **Settings > Integrations**.
Search for **Shopify** and select the custom OAuth app option from the
catalog.
On the **Connect your OAuth app** setup screen, enter your **Client ID** and
**Client Secret**, then click **Save credentials**.
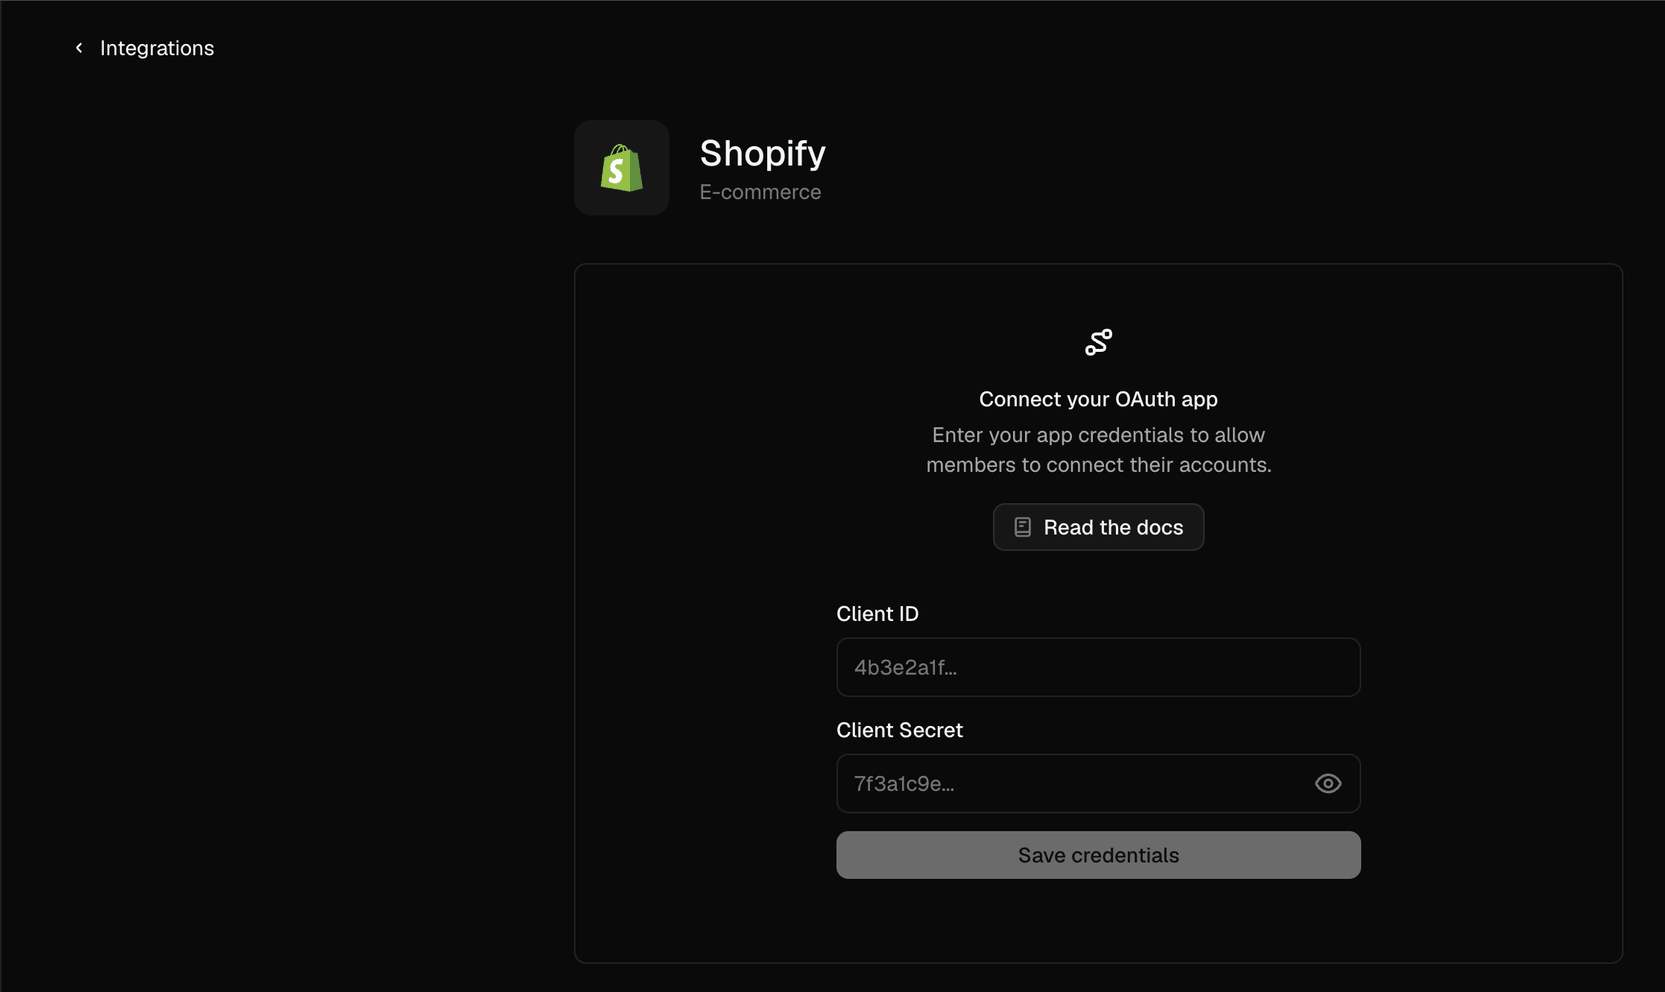
Adapt encrypts the Client Secret at rest with AES-256 and never shows it again.
To rotate it later, use **Update credentials** on the Shopify integration and
paste a new secret.
### Connect your store
With credentials saved, click **Connect** on the Shopify integration.
Enter just your store subdomain — for example `my-store` for
`my-store.myshopify.com` — and a name for the connection, then click
**Connect**.
You are redirected to Shopify to review the requested scopes. Approve the
request, and Shopify sends you back to Adapt with the connection in place.
Ask Adapt to list your most recent orders.
## Connect with an API key
Use this if your store already has (or can create) an admin custom app with an
Admin API access token.
Shopify is retiring new custom app creation from the store admin. The **Develop
apps** flow remains available on many stores where custom app development is
enabled and is what produces a long-lived `shpat_` token. If you can't create a
custom app this way, use the custom OAuth app method above instead.
### Set up credentials
In your Shopify admin, go to **Settings > Apps and sales channels > Develop
apps**.
If prompted, click **Allow custom app development** and confirm. This is a
one-time action per store.
Click **Create an app**, give it a name (for example, "Adapt"), select an app
developer, and click **Create app**.
Open the **Configuration** tab, then under **Admin API integration** click
**Configure**. Select the read scopes you need — for example `read_orders`,
`read_products`, `read_customers`, `read_inventory`, `read_locations`,
`read_analytics` — then click **Save**.
Open the **API credentials** tab, click **Install app**, then confirm.
Installing generates the Admin API access token.
Under **Admin API access token**, click **Reveal token once** and copy the
value. It starts with `shpat_`. Shopify shows this token only once, so store
it securely.
Your store domain is the `.myshopify.com` address for your shop, for example
`my-store.myshopify.com`.
### Connect to Adapt
In Adapt, go to **Settings > Integrations**.
Search for **Shopify** and select the API key option from the catalog.
Click **Connect** to open the connection form.
Enter the values you gathered above, then click **Add connection**:
| Secret Name | Value |
| ---------------------------- | ----------------------------------------------- |
| `SHOPIFY_STORE_DOMAIN` | Your store domain (e.g. my-store.myshopify.com) |
| `SHOPIFY_ADMIN_ACCESS_TOKEN` | Your Admin API access token |
You can rename the connection and choose whether it is shared with your
organization or kept personal to you.
Ask Adapt to list your most recent orders.
## Security
* Credentials and access tokens are encrypted at rest with AES-256
* Adapt requests read-only scopes; grant only what your use case needs
* Revoke access anytime by uninstalling the app from your Shopify store, or by removing the credentials in Adapt
* The Client Secret (OAuth) and Admin API access token (API key) are shown only once; store them securely
* Never share your credentials or commit them to source control
## Capabilities
Adapt can read and analyze your Shopify store data through the Admin API. Ask
questions about sales performance, catalog, customers, and inventory in natural
language.
### Examples
```
Which channel is driving efficient revenue this week, and where am I wasting spend?
```
```
Who bought once and never came back, and who used to buy regularly but went quiet?
```
```
Which SKUs are about to stock out across channels?
```
```
Show total revenue by month for the last year
```